My little guy, 18 months at the time I started this, was a big fan of Thomas the Tank Engine. With his plastic store-bought wagon broken due to a damaged wheel, I figured we could make something far more entertaining out of some SPF planks.
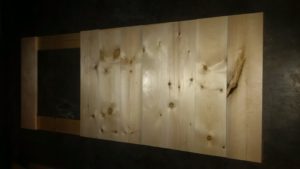
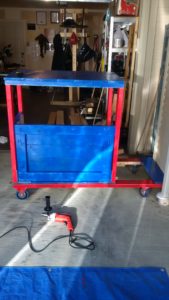
First, a 2′ x 5′ frame (outer dimensions) using 2×4’s, waterproof wood glue, and pocket holes via a Kreg jig. I initially had planned to add a steering mechanism via a steering wheel, pair of shafts, universal joint, and a rudimentary Scotch yoke (below). A metal 1/4″ threaded shaft would join the front castors I used for wheels, with a metal loop bolted onto it, and the far end of the steering mechanism connected to a flywheel. Given my kid and his friends asking for train rides while the project was barely, built, I figured there was no need for it.
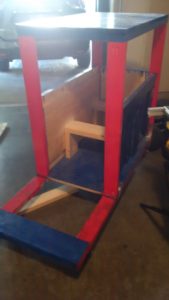
Next, some paint, putting down some 1×6 planks for a floor, and affixing some support posts with heavy brackets and pocket holes.
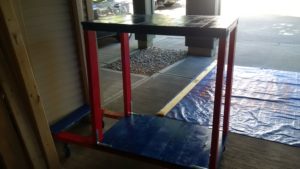
Now, time to add some side panels…
Bench seats, doors…
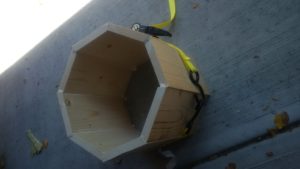
Now for the biggest frustration in the whole project, the cosmetic “tube” at the front of the train. I ended up running some 1×6 planks through the table saw at 22.5 degrees, and gluing the sections together with a web ratchet. Took a few tries to get everything aligned properly. The front cover panel was some 1×6 planks glued together along the edges, and cut into an octagon using a miter saw.
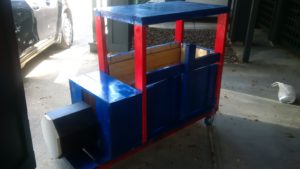
Everything painted, assembled, and ready to go. I bolted on a heavy 2×4 to act as a “lock” for the doors, so they couldn’t open while the “train” is in motion. I left a small gap near the front, right above the black “tube” portion. I’ll later add either a piece of plexi glass or a headlight there.
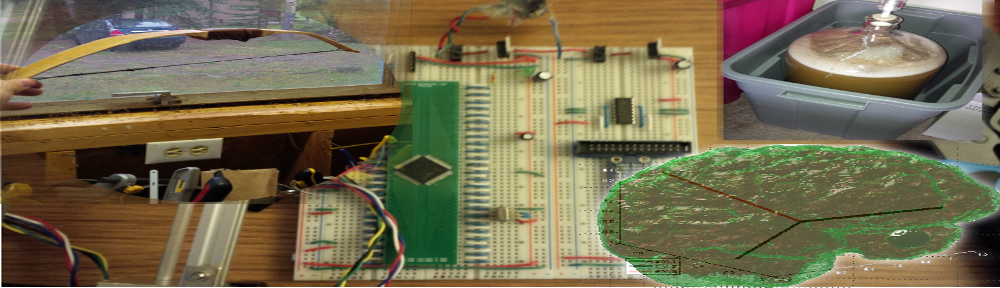
Finally, (not shown) I added some simple electronics to implement a pull-down trapeze-style handle to make a loud horn sound effect. Just a pre-built audio evaluation board which I connected to a tiny 8R speaker, and a large snap-action switch which connects to a piece of paracord to activate the audio functionality. All the interconnections were done with 0.1″ crimped cables using kits purchased from Hansen Hobbies. The Digikey bill-of-materials (BOM) for the electronics is included below.
- Snap-action “on-mom” switch:
- http://www.digikey.ca/product-detail/en/omron-electronics-inc-emc-div/VX-53K-1C23/Z5185-ND/5237059
- Battery holder with lid:
- http://www.digikey.ca/product-detail/en/mpd-memory-protection-devices/SBH331AS/SBH331AS-ND/275299
- 8ohm speaker:
- http://www.digikey.ca/product-detail/en/soberton-inc/SP-1504/433-1106-ND/3973690
- Audio EVM board:
- http://www.digikey.ca/product-detail/en/nuvoton-technology-corporation-of-america/ISD-COB1730/ISD-COB1730-ND/1228823