I’ve officially been published

The abstract is online now. This is one big step for me.

Applications for Low Frequency Impedance Analysis Systems

http://www.springerlink.com/content/k7897184m1371682/

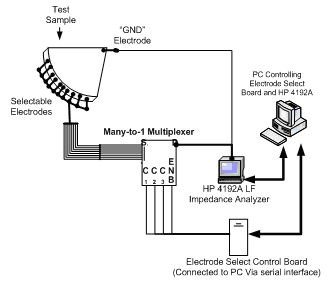
Abstract We present methodology and instrumentation used to carry out and log automated multiple electrical impedance measurements using multiplexed control. We also address the issue of measurement error introduced by the instrumentation, and demonstrate how we reduce these effects in our experiments. Finally, we present two potential applications for our automated electrical impedance analysis systems: tissue scanning and mapping via impedance measurements between arrays of electrodes, and materials testing of novel conductive polymer materials.

Wireless Ultra-Small Solar Panel Charge Controller Interface (w/ Integrated Web Server)

Earlier in the year I had to finally take my engineering capstone course. This involves forming a team of at least 4 engineering undergraduate students, deciding on a commercially viable product that could be designed to improve on some existing method or system, and implement it, along with providing all details.

One of our team members, formerly a coop student with Analytic Systems (http://www.analyticsystems.com) noted that a possible enhancement to the SolarMax Charge Controller system designed by Analytic Systems, would be to allow for wireless control of the device.

So, what features would this system need? Well, after consultation with Analytic Systems, it was agreed that we would be able to have access to a SolarMax Charge Controller, and all the tools necessary to get the job done. The system would have to do the following:

  • Send/receive commands and data wirelessly between the SolarMax device, and a centralized hub which we would also design
  • Implement a fault-tolerant protocol, with the ability to encrypt the data
  • The remote device connected directly to the SolarMax device must be able to transmit data at a distance of at  least 100′
  • The central hub would have an LCD and pushbutton interface, along with LEDs to indicate data transfer, acknowledge user input, and so on

We were able to get a great head start in the implementation stage, as we designed our own circuit boards from scratch, and fabricated them using the toner transfer method and acid etching all the boards ourselves. Combined with weeks of organized coding and development, our final product not only met the initial requirements: we managed to design an entire embedded web server into the central hub (using the PIC24F and ENC28J60 chips, courtesy of Microchip Technologies), which featured Ajax-based dynamic web pages which provided up-to-the-second information from the remote unit. We even managed to configure a basic FTP server with authentication on the micro web server as well, allowing for us to possibly design the system for remote report generation and retrieval in the future.

In addition to this, we managed to extend the range of the device well beyond our initial expectations. Using low power wireless transceiver chips from Linx Technologies, we were able to control the remote SolarMax device with the central hub unit from over 200′ away. With the central hub connected to a wireless router, the project was even more impressive as we controlled the entire system with an iPhone.

Included below is a collection of images summarizing our project and it’s design:
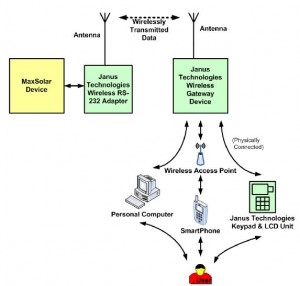
System Overview: Essentially, our product works as a wireless bridge to connect the SolarMax charge controller to a central hub which we also designed. The hub allows for multiple interfaces, including direct access via LCD and pushbutton interface, or remote connection via a networked PC or SmartPhone.
System Overview: Essentially, our product works as a wireless bridge to connect the SolarMax charge controller to a central hub which we also designed. The hub allows for multiple interfaces, including direct access via LCD and pushbutton interface, or remote connection via a networked PC or SmartPhone.

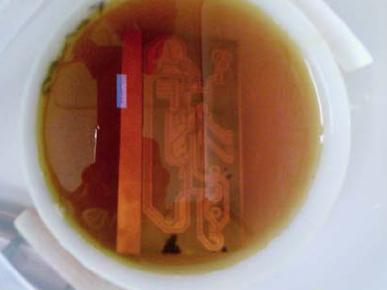
Me acid etching a PCB. Even though we used the toner transfer method, the boards came out perfectly.
Me acid etching a PCB. Even though we used the toner transfer method, the boards came out perfectly.

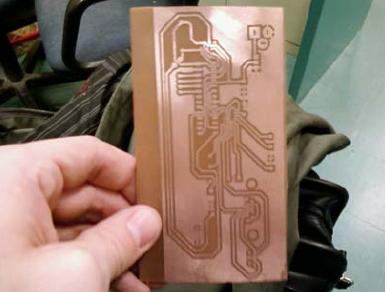
One of our testing boards. We built several boards so that each of us could test one in our spare time.
One of our testing boards. We built several boards so that each of us could test one in our spare time.

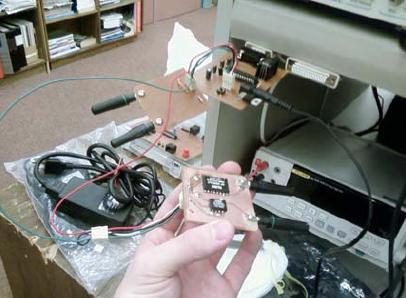
Testing our initial prototype. Were glued to the DMM and oscilloscope for days at some points.
Testing our initial prototype. Were glued to the DMM and oscilloscope for days at some points.

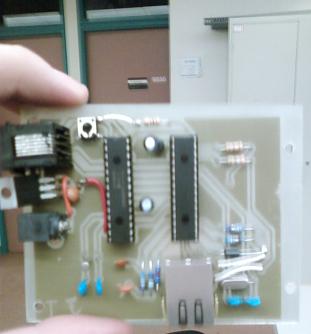
Our redesigned project using a higher quality PCB from Digikey. The design was already small, at less than 4"x3". Not bad considering it has an entire web server running on it, plus interfaces with our wireless transceiver, LCD, and push button circuits
Our redesigned project using a higher quality PCB from Digikey. The design was already small, at less than 4"x3". Not bad considering it has an entire web server running on it, plus interfaces with our wireless transceiver, LCD, and push button circuits

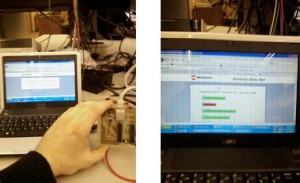
Our final project, connected to a wireless router and being controlled via a PC. We later connected several iPhones to it concurrently and it worked flawlessly.

Our final project, connected to a wireless router and being controlled via a PC. We later connected several iPhones to it concurrently and it worked flawlessly.

MRI Analysis Suite

After taking a course in biomedical signal and image processing, I took a strong interest in MRI and CT analysis techniques. As part of independent research, I have taken on an interesting project: designing an entire MRI analysis suite. Most of the project is done in MATLAB, but as development continues, I may consider rewriting it in another language so that I can distribute the binary for anyone to use.

So far, this program imports a MAYO 7.5 HDR file, and allows for several common image processing operations to be applied to it, including:

  • Filtering (eg: blurring, median, mode, mean, sharpening)
  • 3D edge detection via a 3D Sobel algorithm
  • 3d flood fill operations (this was an undertaking on its own; basic stack-based and recursion-based algorithms take minutes, even hours, on large MRI data sets; I successfully designed a fast, queue-based, algorithm that is essentially a 3D extension of the classic scanline flood fill algorithm)
  • Segmentation (via a Fuzzy C-means algorithm I designed)
  • Gamma correction
  • Noise removal (salt & pepper, Gaussian noise)
  • Statistical analysis (ie: calculating the volumes of cerebrospinal fluid, white matter, gray matter, and extracranial voxels in MRI data)

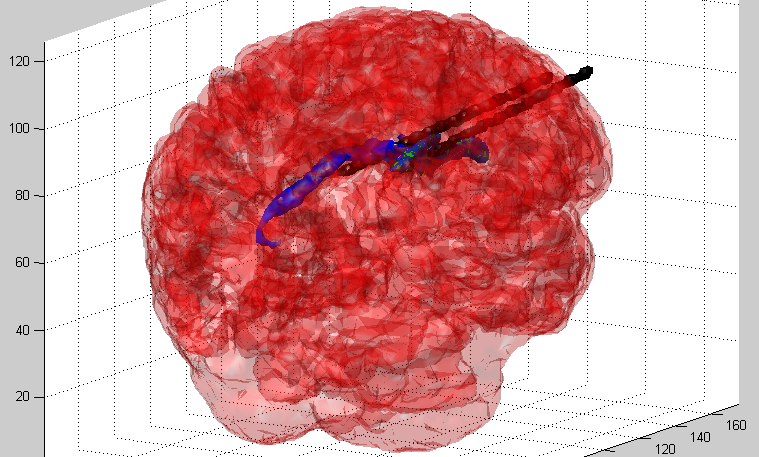
What really made this project intesting is the specialized features I’ve added. The most recent one detects the ventricles of the brain via a statistical method and an arbitrary shape detection algorithm, providing two ways to ensure accurate results. It can separate them from the rest of the brain, along with other major portions of the brain.

To make things even more interesting, the primary axis of any portion of the brain can be generated and displayed as a 3D vector. This is from a PCA algorithm I designed to allow for the brain to be oriented in RPI format.

I will continue developing and optimizing this collection of MRI analysis tools. I amy even release the source for them in the coming months too.

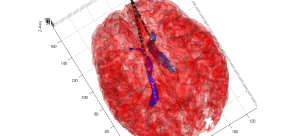
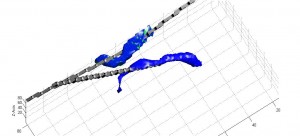
Some samples of the program in action are shown below.

Brain + Ventricles + PCA 3

Red - Brain Tissue; Blue/Green - Ventricles; Black - PCA/Primary-Axis Vectors

The brain (translucent, red) with the ventricles of the brain in blue.

The brain (translucent, red) with the ventricles of the brain in blue.

Ventricles and Primary Axis Vectors

Ventricles and Primary Axis Vectors

Breast Cancer Screening System via EIT

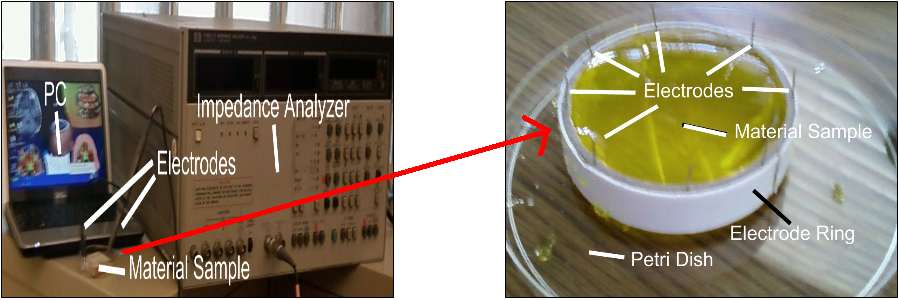
Not even two months before I completed my work designing an interface for the impedance analyzer used at the SFU Microinstrumentation Laboratory, I jumped on board with a project involving SFU and BC Cancer Agency, utilizing an impedance analysis system as a possible cancer screenin system. Taking the impedance analyzer, a small netbook, my existing interface system, and additional tools we developed, we have…

System Overview Diagram

System Overview Diagram

actual system

Actual System

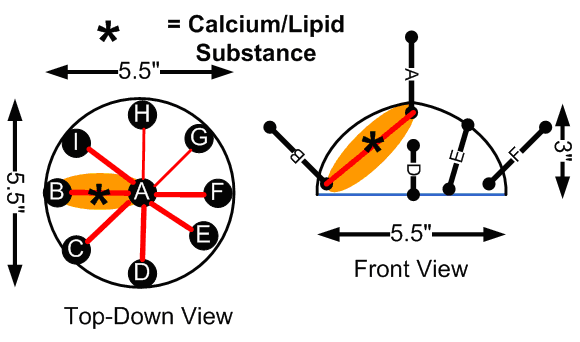
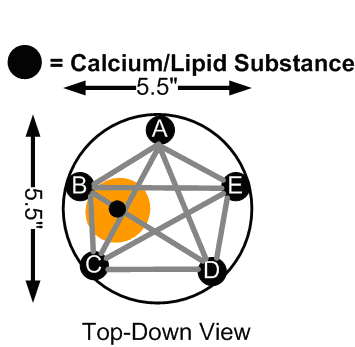
With this system, we used breast phantoms composed of gelatin and saline solution, along with an electrode array with a stationary electrode placed in the center of the phantom, and multiple selectable electrodes along the circumference of the phantom, as outlined below.

limited_scan_electrodes

Inital Electrode Placements

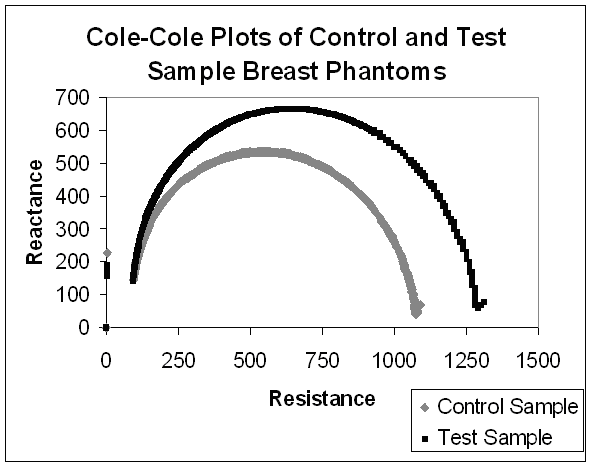
Using this electrode array, we could generate Cole-Cole plots between electrode ‘A’ and the remaining electrodes. In the case where a small amount of lipid, calcium, and salt was placed between two electrodes (to mimic a potential breast tumor), we were able to consistenly generate Cole-Cole plots with different parameters compared to samples that had no such anomaly injected. These changes were most prounounced at lower frequencies between five to six kiloHertz (kHz).

Cole-Cole Plot

Cole-Cole Plot

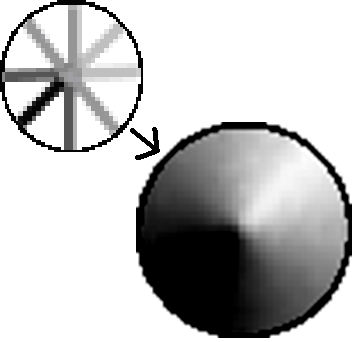
One downfall to the existing system was that the electrode placement at the time only allowed for detection of foreign substances in the breast phantom that were close to the surface, indicated by the orange regions in the “Initial Electrode Placements” diagram above. We could generate basic impedance maps that show a general region where the lipid/calcium deposit was injected, but not with enough accuracy.

Simple Impedance Map (Upper Left) and Interpolated Impedance Map (Lower Right)

Simple Impedance Map (Upper Left) and Interpolated Impedance Map (Lower Right)

We changed our electrode placement to that shown below.

new electrode placement

new electrode placement

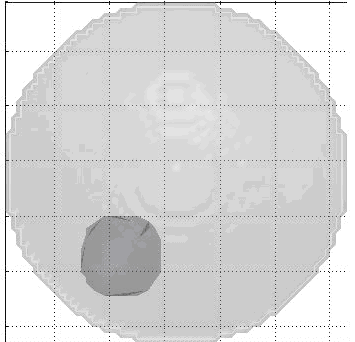
Combined with a more sophisticated  EIT image reconstruction software we designed over the course of several months (please refer to “Publications” section), we were able to generate 2D impedance maps of the breast phantom, indicating the location of the injected lipid/calcium deposit. Although the error bounds for the size of the anomaly injected into the phantom are large, the centroid is located with a reasonable degree of accurary.

2D Image Reconstructed from our EIT Software

2D Image Reconstructed from our EIT Software

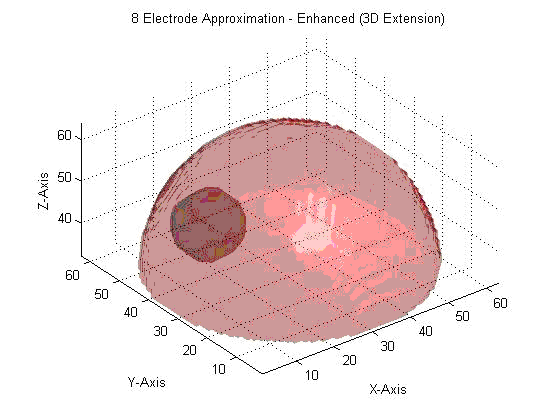
We are now at the point where we are preparing to improve on this system, possibly allowing for us to extend our image reconstruction system to provide a fully 3D impedance map, indicating the precise location of the injected lipid/calcium deposit. This may demonstrate the viability of impedance analysis as a non-invasive, low-cost, and rapid means to screen for breast cancer in its early stages.

3D Extrapolation from 2D Image

3D Extrapolation from 2D Image